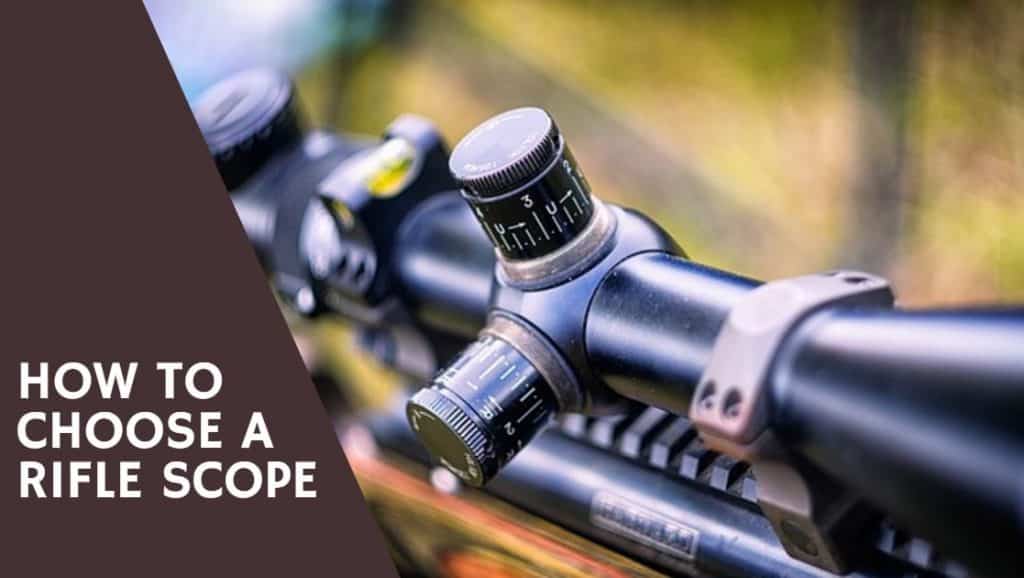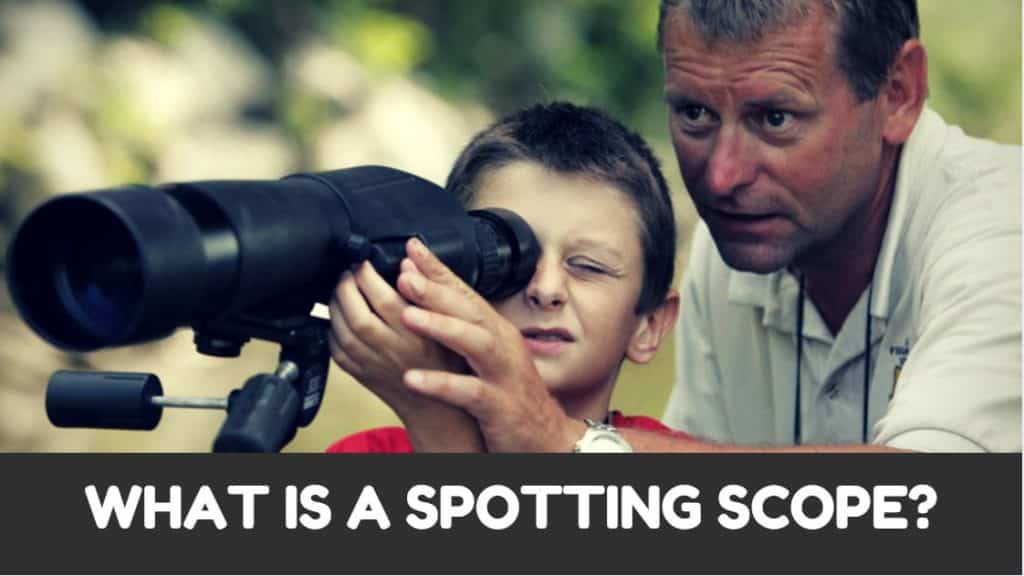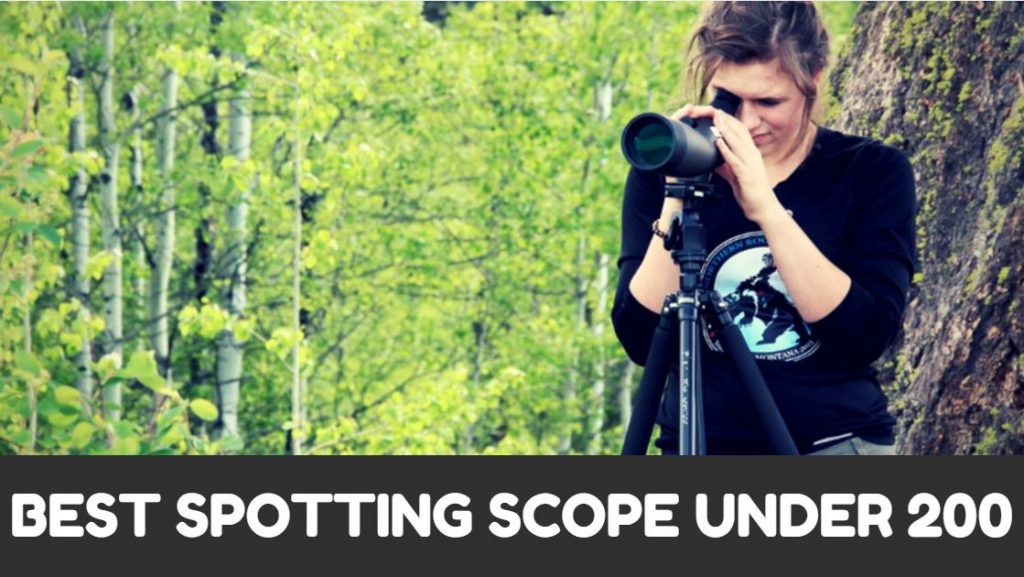
How to Choose a Spotting Scope: This is the third and final part of our 5000+ words Spotting Scope Guide for Beginners. If you wish to read the previous two parts, then you may check them out here: What is a Spotting Scope? and How to use a Spotting Scope? Hope you enjoy reading our guide.
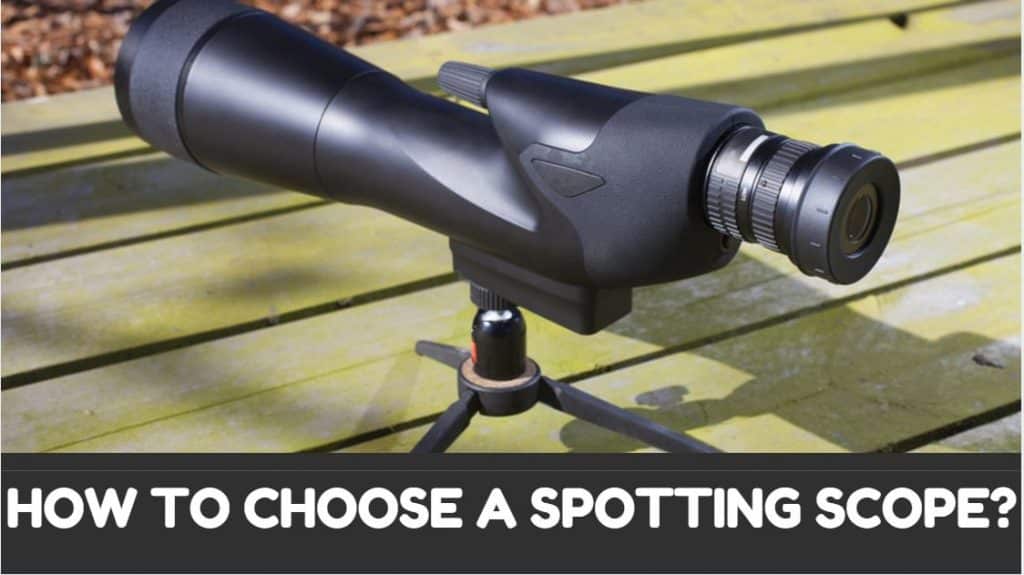
How to Choose a Spotting Scope?
In this guide, we will give you some must-have information on how to choose a spotting scope. In order to buy the right equipment, you need to consider:
- Whether you require a spotting scope, binoculars, or a telescope?
- Whether to go for an angled or straight spotting scope?
- What features or specifications do you require?
- The balance between price and image quality?
- Whether you need a tripod?
I like to think of a spotting scope as a basic telescope designed for use during the daytime. I have seen most nature observers and birdwatchers using spotting scopes extensively. Hunters like me have also benefited from its use. Spotting scopes are far more accurate at long distances than normal binoculars, which makes them a useful tool for spotting targets. You can also read more about spotting scopes in our article What is a Spotting Scope?
This nicely brings to us our first point of consideration. You need to decide whether you require a spotting scope, a pair of binoculars, or a telescope depending on how you plan to use the equipment.
Spotting Scope or Binoculars or Telescope
There is certainly a place for binoculars in nature viewing and even the hunting world. It is easier to use binoculars on the fly, and they are portable and compact for easy transport. But, the more seriously that you take your nature watching or hunting, the more you will start to see the benefits of a spotting scope and tripod setup.
Bird watchers are big fans of spotting scopes as they offer a higher magnification and unparalleled stability to better study rare birds from a distance.
Hunters like me benefit from this setup by being able to not only spot wildlife but effectively follow and track them as well. I’ve also found them very helpful for keeping score while using one of the best budget spotting scopes for target shooting.
So why wouldn’t a telescope do the same thing you ask? Well, telescopes are specifically designed to view the night sky. Spotting scopes, on the other hand, are designed to be used at all times of the day. Telescopes are useful for viewing stars that are thousands of miles away while spotting scopes can be used to view objects from 20 feet up to 10,000 yards away.
The next factor that you need to consider in your buying decision is whether to go for an angled or straight spotting scope.
Angled or Straight Spotting Scope
There are two primary designs for viewing through a spotting scope: the angled eyepiece or a straight one.
The angled eyepiece requires the user to look down into the eyepiece, while the straight option requires you to simply look straight ahead. Depending on what your purpose for purchasing it is, either one of these could be a suitable option for you.
Bird watchers and skygazers seem to prefer the angled eyepiece for a few specific reasons:
- The angle allows the user to more easily aim upwards
- The angled eyepiece also makes sharing the scope easier. You don’t need to repeatedly adjust the scope’s position as per the height of the user.
- If you need to use your scope for long periods of time, then you will find the angled eyepiece to be more comfortable
There are other reasons that you might be better off with the straight scope. It is easier for situations that require you to ‘point and shoot’. For example, I sometimes stalk a game while lying on the ground. The straight scope allows me to maintain my position and keep myself hidden more easily than an angled scope.
The good news is that most manufacturers offer spotting scopes in both designs. Once you have decided on the design as per how you plan to use your spotting scope, you need to consider the specifications and features that you require.
Features of a Spotting Scope
Zoom/Magnification
There are variable zooms that are built into nearly every single model of spotting scope that you can buy. These typically begin at around 15x and go up to around 60x depending on the brand and model. These are manually adjustable, much like a camera. The higher the magnification, the closer you can view the object.
Size of Lens
You need to decide the size of the lens that you need to buy very carefully as it will significantly impact your experience while using the spotting scope.
A larger lens, such as 80-100mm, has a better ability to gather light even during low light conditions. The image through one of such larger lenses will be clearer and brighter than what a smaller lens will offer. But spotting scopes with smaller lenses are going to be lighter and easier to transport than the larger options.
A good way to choose among these options is to determine where you will be using the scope the most. If you intend on setting up and staying in one position, a larger lens (80- 100mm) would offer a clearer and brighter image.
If you intend on moving from place to place a lot, a smaller lens would be easier to move around. You will find that most 50 or 60-mm scopes can be used without the tripod. Such small spotting scopes are the most mobile and versatile of all.
We have published a series of spotting scope buying guides as well to go along:
Eye Relief
You should also prefer spotting scopes with longer eye relief. It is especially important if you wear glasses, or intend to use sunglasses while you are using your scope.
I tend to wear sunglasses while I am out glassing during the summer months. So decent eye relief is pretty important to me. If you go for a longer eye relief it would allow you to keep your eye a little bit away from the eyepiece and still see the full field of view.
Weatherproofing
You aren’t always going to be using your spotting scope in the most ideal of conditions. When you are out in the field, and encounter extreme weather, having a weatherproof spotting scope would help you get more hours out of your trip.
If you have a waterproof and fog-proof spotting scope, you will be able to get a clear picture in most climates. Such features would also protect the inside of your scope from water and corrosion, which are a common occurrence in unprotected scopes used near saltwater.
Price and Image Quality
While shopping for a spotting scope, it is easier to fall in love with the one having the highest specifications and maximum features. There is no doubt that high-end spotting scopes provide the best image quality, but such higher specifications come at a steep price. In fact, some premium spotting scopes can cost you as much as $1500.
In regards to image quality, you really get what you pay for. But, at the same time, many reasonably priced spotting scopes would be able to provide an image quality that is suitable for most users. So it is important to have a balance between the image quality you require and the price you are willing to pay.
There are several factors that allow certain models to offer a better image overall. Factors like the size of the lens, prism design, and type of glass all impact the image quality. In addition, the coatings of the lens and the optics used within the scope play a role as well. More expensive spotting scopes feature fully multi-coated lenses, to allow them to gather more light.
Do You Need a Tripod
The short answer to this question is yes. Tripods not only prevent the images from becoming shaky but also provide stability to help the spotting scope gather enough light for better-quality images.
I have found that not using a tripod makes it hard for me to stay focused on a target even while using smaller spotting scopes.
Most of the spotting scopes on the market come with some kind of a basic tripod, and these are typically interchangeable for all models. Some are worded as a scope and tripod kit. So make sure that you are reading through the contents carefully before purchasing. This will ensure that you are buying the model with all the gear that you need.
If you are buying a high-end scope, then it is a must for you to buy a sturdy tripod apart from the one offered in the box.
Conclusion
The aim of this article is to give you the most important information on how to choose a spotting scope. Here is a quick summary for you:
- You have to think about how you are going to be using your particular scope the most. If you would be using it in clear weather and broad daylight, you can go for a basic 50 or 60-mm lens model. For those who need a spotting scope for varying conditions, a larger model with an 80 to 120-mm lens would be more suitable.
- Don’t expect more than what your spotting scope is designed to do. Use your spotting scope in the ‘more realistic range’ of 15x to 40x magnification.
- If you don’t own a tripod, you should consider purchasing one along with your new scope. In most situations, it is difficult to get good images if you use a scope without a tripod.
- Choose wisely if that modest increase in image quality is worth the higher cost.
Don’t assume that you have to pay a large amount of money to get the most out of your scope. Some spotting scopes cost around 100 dollars while others can be a couple thousand.
It is certainly believed that the more you pay the higher the quality. However, I have a general back-of-the-hand rule that you can also use. Once you select a scope that gives a reasonable quality image, for every 10 percent more functionality thereafter, the price will increase by 100%.
If you have any tips on how to choose a spotting scope, please let us know through your comments.
Further Reading:
Last Updated on December 9, 2023 by Victor Mays