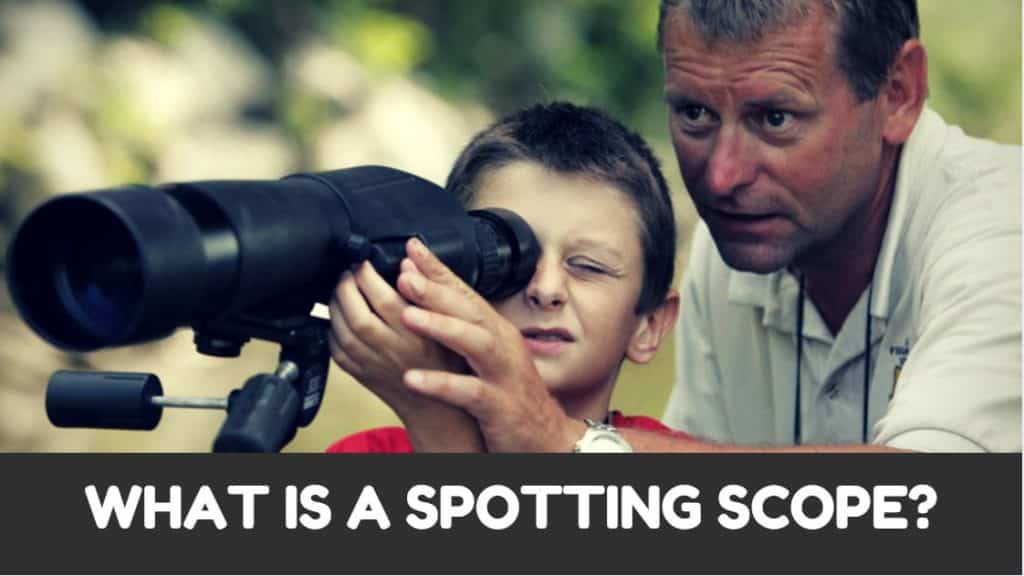
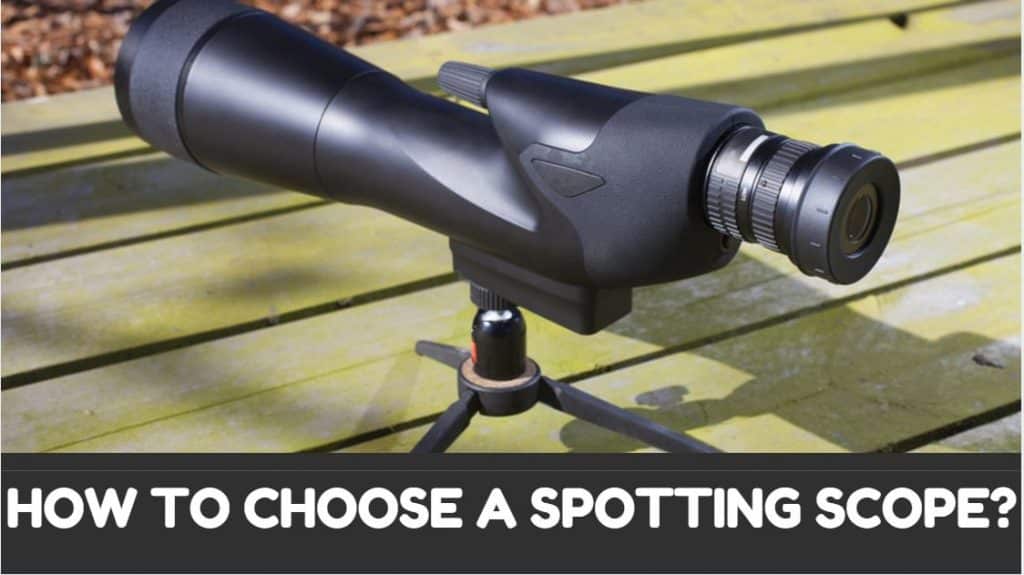
How to use a Spotting Scope: In this article, we would be sharing tips on how to use a spotting scope. This is the second part of our 5000+ words Spotting Scope Guide for Beginners. If you wish to read the first part, then you may check it out here: What is a Spotting Scope? The third and final article in this guide is going to be: How to Choose a Spotting Scope?.
How to use a Spotting Scope
Every single year I spend many hours looking through my scope. As a hunter, the western lands I hunt require a lot of glassing, but that’s not the only reason. In truth, I really enjoy watching the game out there from the spotting scope. Elk, deer, turkey, pronghorn all seem to look better through a scope in their natural habitat.
While I haven’t always been an expert at using my spotting scope, life has taught me a few lessons about using it the most efficient way I can. You wouldn’t think it could get complicated. Look into the scope and see the animal, right? It’s not quite that easy and getting good at using one requires some time. But to save you a little of that time, these tips should give you a leg up on being a scope expert.
Here are 5 quality tips on how to use a spotting scope. I hope these tips will help you make the most of the time you are spending behind your scope.
Find the Perfect Spot
The first thing that you will want to do is to find the ideal spot by hunting out a location that allows you to see all over the terrain from one pivot point. From here, look for a flat spot that is without rocks. This is going to offer stability for the scope when you set it up.
The flat space will also be great when you lay out the Therm-a-Rest Z Lite Sol Pad. This is a must-have item in my book. It is incredibly light, easy to handle, and it does wonder towards making your hours of spotting more comfortable.
Next, I take my pack and prop it up behind me. While this might not make a difference when you are kneeling, but this idea will save your lower back while sitting down and looking through your spotting scope.
Set Up Your Scope
Once the pad and pack are in place, the next thing that I do is to set up my Dolica 62-inch tripod. I pull out my Bushnell 20-60×80 and place it securely on the tripod. Before I get to glassing, I make sure to adjust all the legs and put the scope in a position that is the most comfortable for me to use. It is sound advice to take some time to learn your adjustments on your tripod so that you can modify them quickly when you are watching wildlife.
I personally always begin glassing at a kneeling position. So I make sure all of the adjustments I have made work for this position. Look through the eyepiece. If you are straining or uncomfortable, try re-adjusting the settings for a little more comfort.
If you are straining too much, it won’t take long for your body to let you know. There is no quicker way to end a good glassing session than with a pounding headache. So make sure you have taken the time to properly adjust all the settings for your comfort and ease of use.
If you don’t know how to mount your scope on a tripod, then you can follow the steps below.
- Unlock the leg levers.
- Extend the tripod legs until you have the desired height. You may need to adjust the height of each leg appropriately if you are on uneven terrain.
- Clip the leg levers back into their place.
- In case you require additional weight to hold down the tripod, then attach a scope bag underneath the tripod to add more weight.
- Take out your spotting scope from its case.
- Most tripods come fitted with a tripod adapter or a mounting plate. Thread this adapter or the plate to your spotting scope
- Thread your scope to the adapter or the plate and tighten them together.
- Slide the mounting plate into the mounting platform until the quick release mechanism locks it in place.
Related Posts:
Best Spotting Scopes Under 100
Scan the Area
So you’ve got the scope set up and you’re comfortable. Now what? Next, you want to scan the area with your binoculars. These might not have the juice that your scope does, but they are easy to use and can quickly scan the whole area for animals.
Once I have identified the animal or animals that I want to observe, I move my spotting scope towards them.
I make sure that my scope is zoomed out all the way when I am positioning it in their general direction. This will provide you with the largest field of view, and make it easier for you to find the exact position that you want to be in.
Once I have located the animal, I center it in my field of view and then begin slowly zooming in with the focus wheel.
It is important not to immediately go from your lowest to highest power settings, as this will often result in a horrible blur which could cause you to move the scope from its position. Then you would need to start all over again.
Make sure that as you are zooming in, you have one hand on the focus wheel and the other of the scope and tripod entirely. The slightest shaking of the scope may cause you to lose the animal. Once you have reached the right magnification and clarity, remove the hand you had on the focus wheel as well.
You can use the Step-by-Step below to find your target.
- Set your scope at low magnification for a wider field of view.
- If you wear eyeglasses, then fold down the eyecups so that you have adequate eye relief.
- Move and rotate focus controls of your scope until the image is clear and sharp.
- If the sun is not directly behind you, then it may cause a glare. If your spotting scope comes with a retractable sunshade then pull it out at the objective lens end.
- First, use your binoculars to scan the terrain for targets.
- Once you spot your target, move to your spotting scope.
- Start at low magnifications, and slowly increase the power by turning the zoom knob.
- Continue to zoom in till you reach your desired magnification level.
Take Your Time
There are times when your binoculars aren’t going to spot anything when you scan. Don’t panic about this. You can break up the whole terrain into a grid with 30-40 acre sections and use your scope for a more detailed look at it all – one section at a time.
Usually, I run the scope at about 30x and slowly move from left to right in the section I am scanning. When I reach a portion of the terrain which could easily hide an animal, or that gets thick with foliage and bushes, I up the magnification and slow down even more.
This all sounds good, but does that actually work? Well, I would say it does because just last season I spotted four different bucks. All these bucks were bedded down in heavy sagebrush. I didn’t see them when I used my binoculars. I doubt I would have even seen them on the 30x magnification. But with this technique I just told you, I was able to catch the tips of their ebony horns poking out from the brush.
Beat the Heat
Heatwaves are the bane of any scope enthusiast. The heatwaves will distort your view and make the subject you are tracking very difficult to keep an eye on.
The first step to beat the heat is to zoom out. The more you have zoomed in on something, the more the heat waves are going to impact the field of vision. Zooming out prevents the distortion almost entirely, and you can slowly zoom in it until you still have a clear look at the animal but without the annoying heat waves.
I have found that passing clouds can really be a great friend while you are glassing. Clouds instantly reduce heatwaves and give you a chance to zoom back in on the animal as close as you wanted to be.
Conclusion
We hope you find these tips on how to use a spotting scope useful. In addition to these tips, we would also suggest that you go through the user manual for your spotting scope. With our tips and some practice, you can easily learn the art of using spotting scopes efficiently.
Pro Tip: If you are using your spotting scope for the first time, then don’t start with live animals. Stationary objects will give you the opportunity to master your scope completely, and you will be able to practice the process of zooming in without shaking your scope.
If you have any tips on how to use a spotting scope, then you can share them through the comments section.
You May Also Like:
Best Spotting Scopes Under 300
Best Spotting Scopes for 100 Yards
Last Updated on May 15, 2025 by Victor Mays